

See the overall pattern
- Without the team
- A small tile sample does not show how its pattern could read across a wall.
- With the team
- Use a room visual to discuss the overall effect alongside the actual tile.
Explore a tile reference on a wall or floor in a room image with this AI workflow, so you can help your client compare the direction.
The short answer, before the workflow detail.
Tile Surface explores a tile reference on a wall or floor in a photo of your client’s room, so you can discuss the overall pattern and direction together. A professional reviews each visual. It is good enough to choose between options, not accurate enough to approve a finish, match a colour, or build from.
This illustrated AI workflow explores a tile direction using the room photo, product reference and intended surface. The images illustrate the approach; they are not documented Studio results.
Step 01
Start with a photo of the customer's space and your tile — the swatch or product image, its size, and its pattern or vein. Add grout colour and width, the install pattern, or the target surface if you have them.
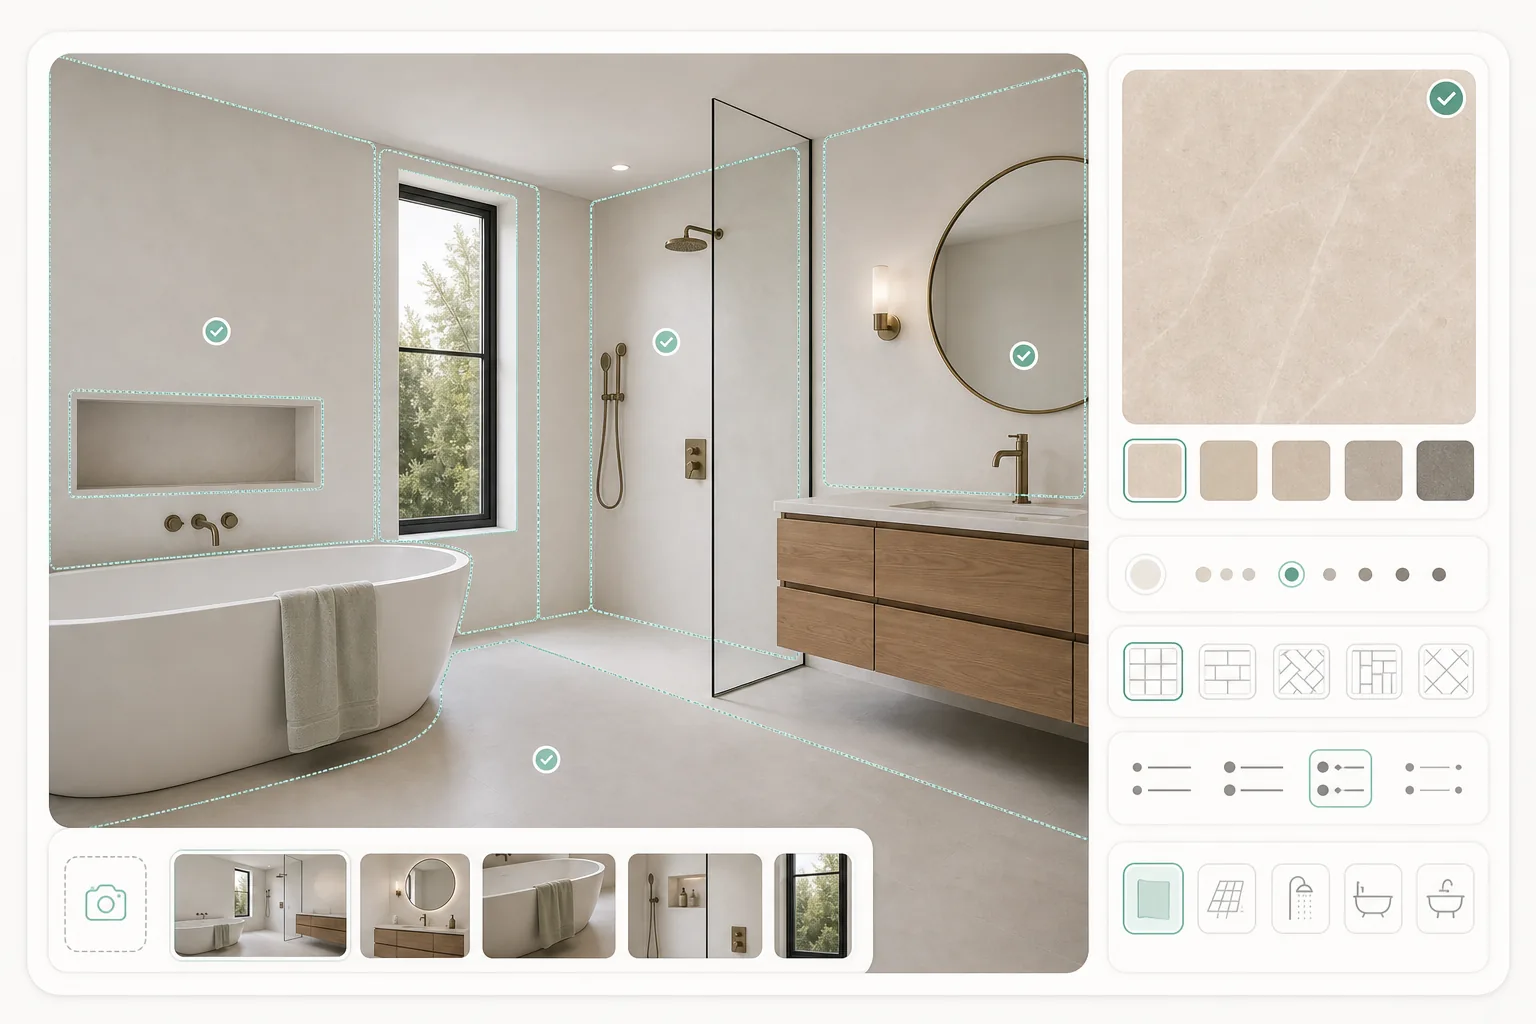
Step 02
Brief the target surface, tile reference and laying direction.
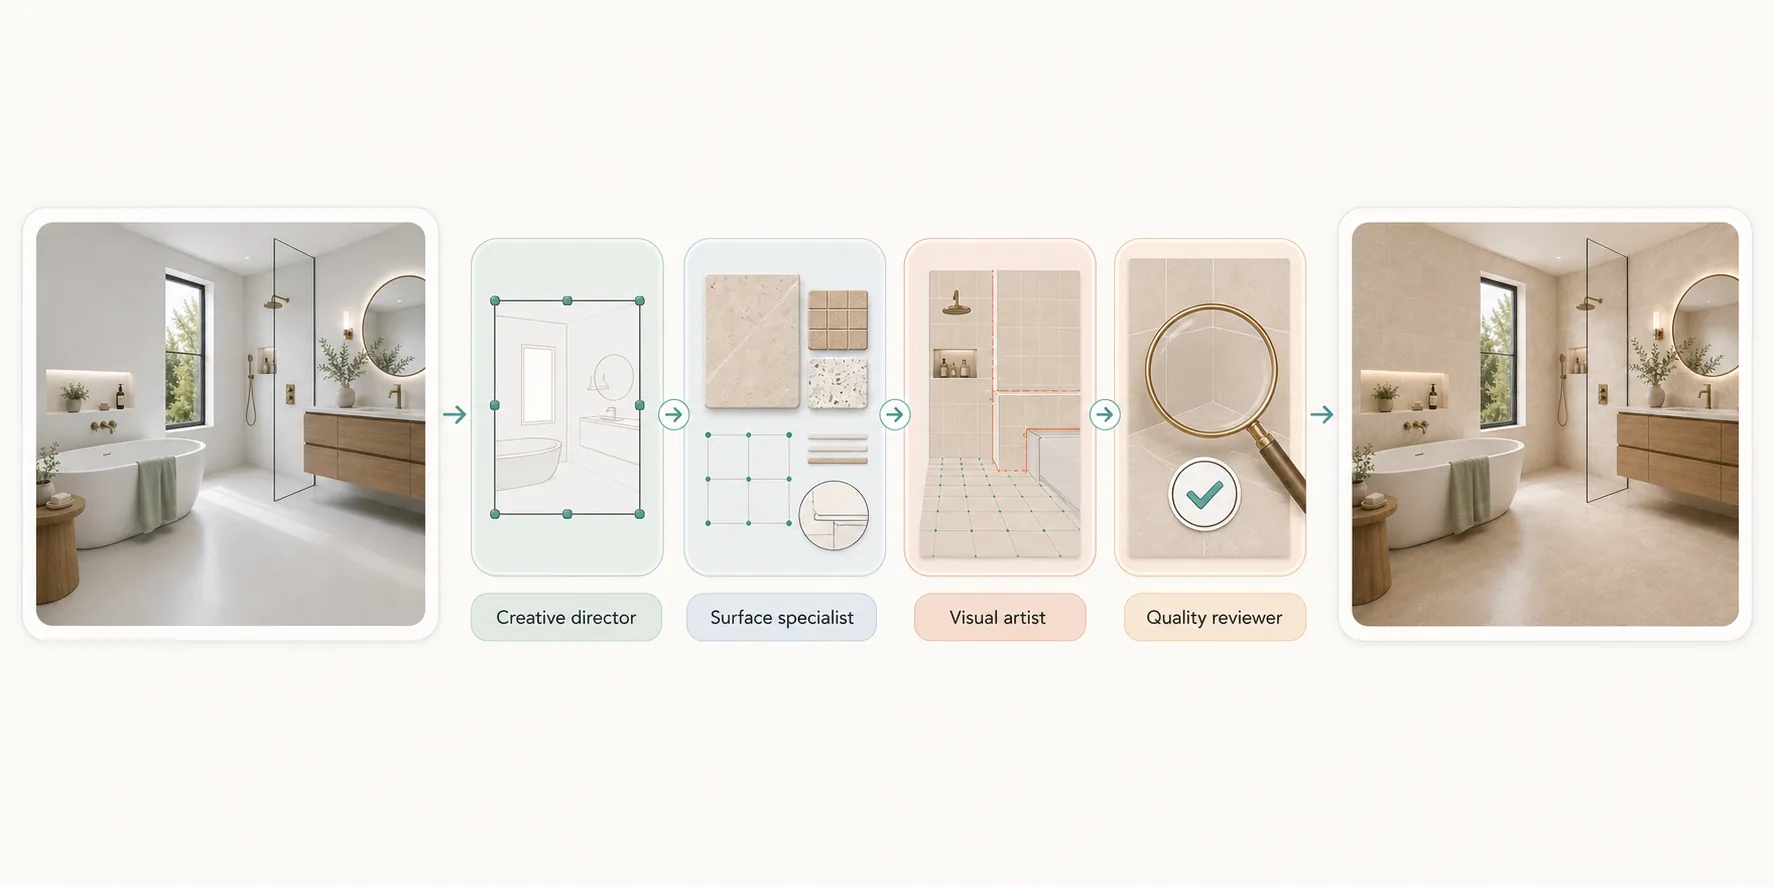
Step 03
Review the tile option beside the source photo and product reference.
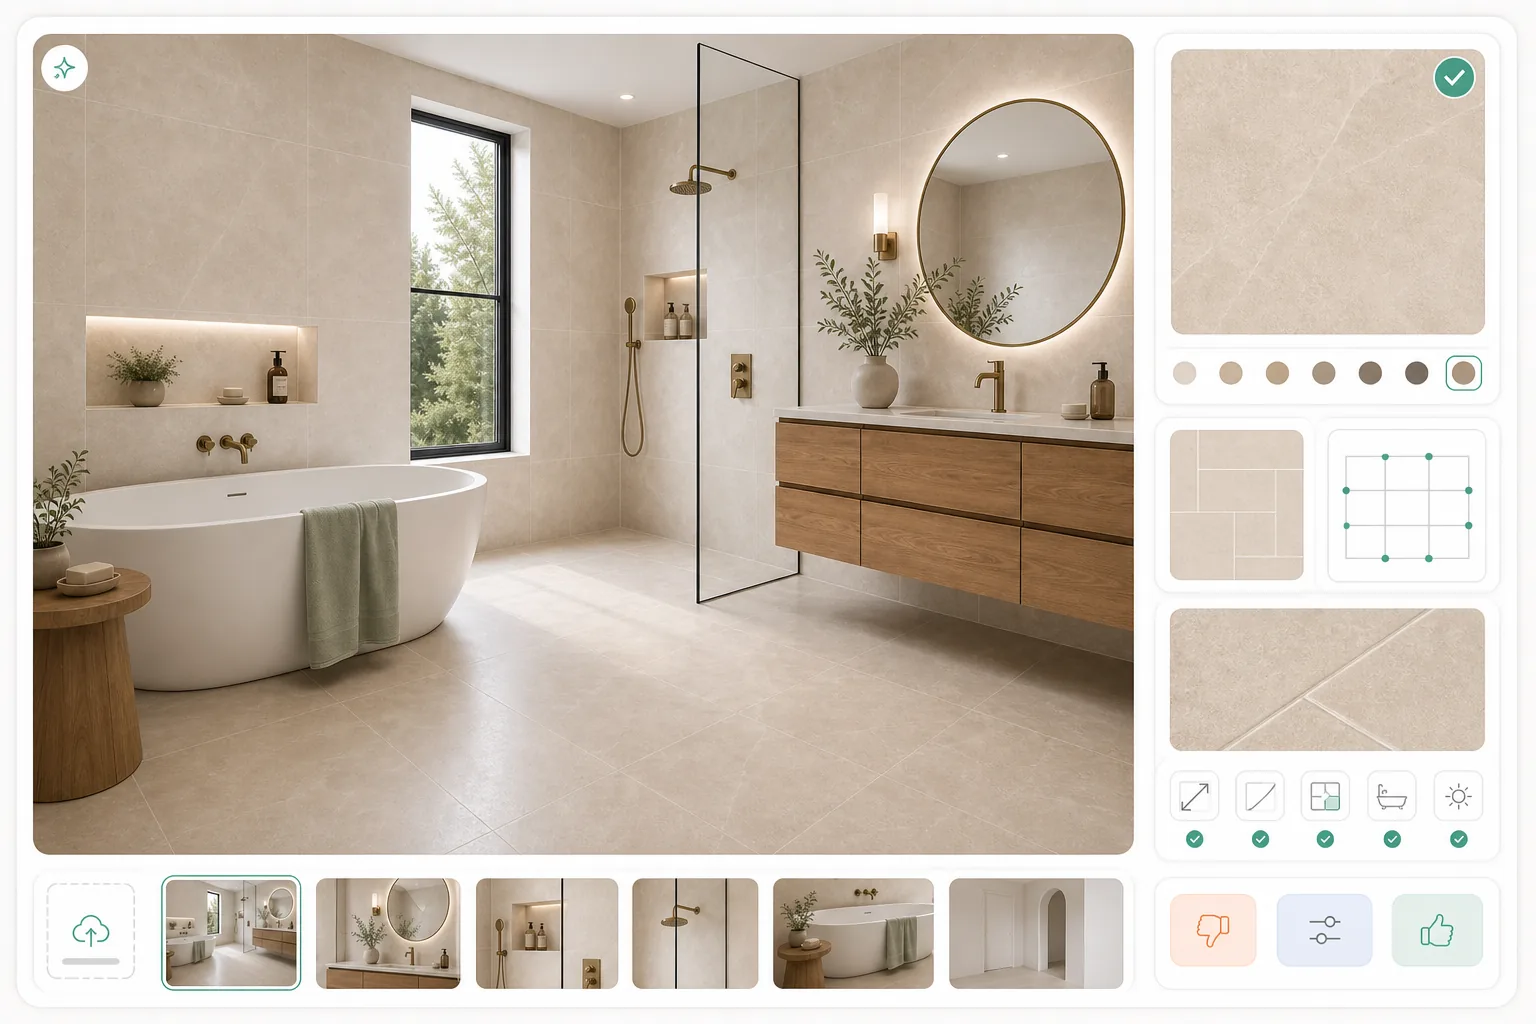
Bring the tile conversation into the customer’s room.
Select an image to explore the interface.
This preview displays a fixed sample. It does not process your image or run an agent.
This reference illustrates the task. Selecting your own image changes the preview input, not the sample result.
Ready when you are.
The questions that decide whether this fits the way you already sell tile.
A photo of the client’s space and your tile reference — the swatch or product image, its size, and its pattern or vein. Grout colour and width, the install pattern, and the target wall or floor help the team read your intent, but are optional.
No. Confirm dimensions, layout, cuts and installation details with your supplier or installer, and confirm colour and finish against physical samples. The visual carries no measured accuracy and does not establish a product run. Use it to decide a direction, then verify before you recommend a finish.
A visualiser drops a swatch onto a surface. This is a workflow with four specialist roles — creative direction, surface reading, visual development and quality review — that interprets your tile in the actual room, then hands the result to you to check. The illustrations explain the intended workflow, not verified staffing.
Reviewed by Son Dang, Founder. Published . Updated .
Have a room photo and a tile reference to explore? Request a Tile Surface demo to discuss the overall direction.
Demo enquiries open your email app.