

Point to the change
- Without the team
- A comment such as change that can leave the intended area unclear.
- With the team
- Mark the area and attach the instruction to give the revision a clear starting point.
Request a focused revision using a room visual and an annotated copy in this AI workflow, so client feedback becomes a specific change you can review.
Explore the visual instruction workflowExplore the sample preview
The short answer, before the workflow detail.
Visual Instruction takes a current visual and your words or markup, and returns a focused revision. Say what should change and what should stay, then review both the requested change and the surrounding image.
This illustrated AI workflow uses your annotations and references to guide a focused visual revision. The images illustrate the approach; they are not documented Studio results.
Step 01
Start with the clean room image and an annotated copy — labels, drawn regions, arrows, comments, and any reference images attached to the changes you want made.
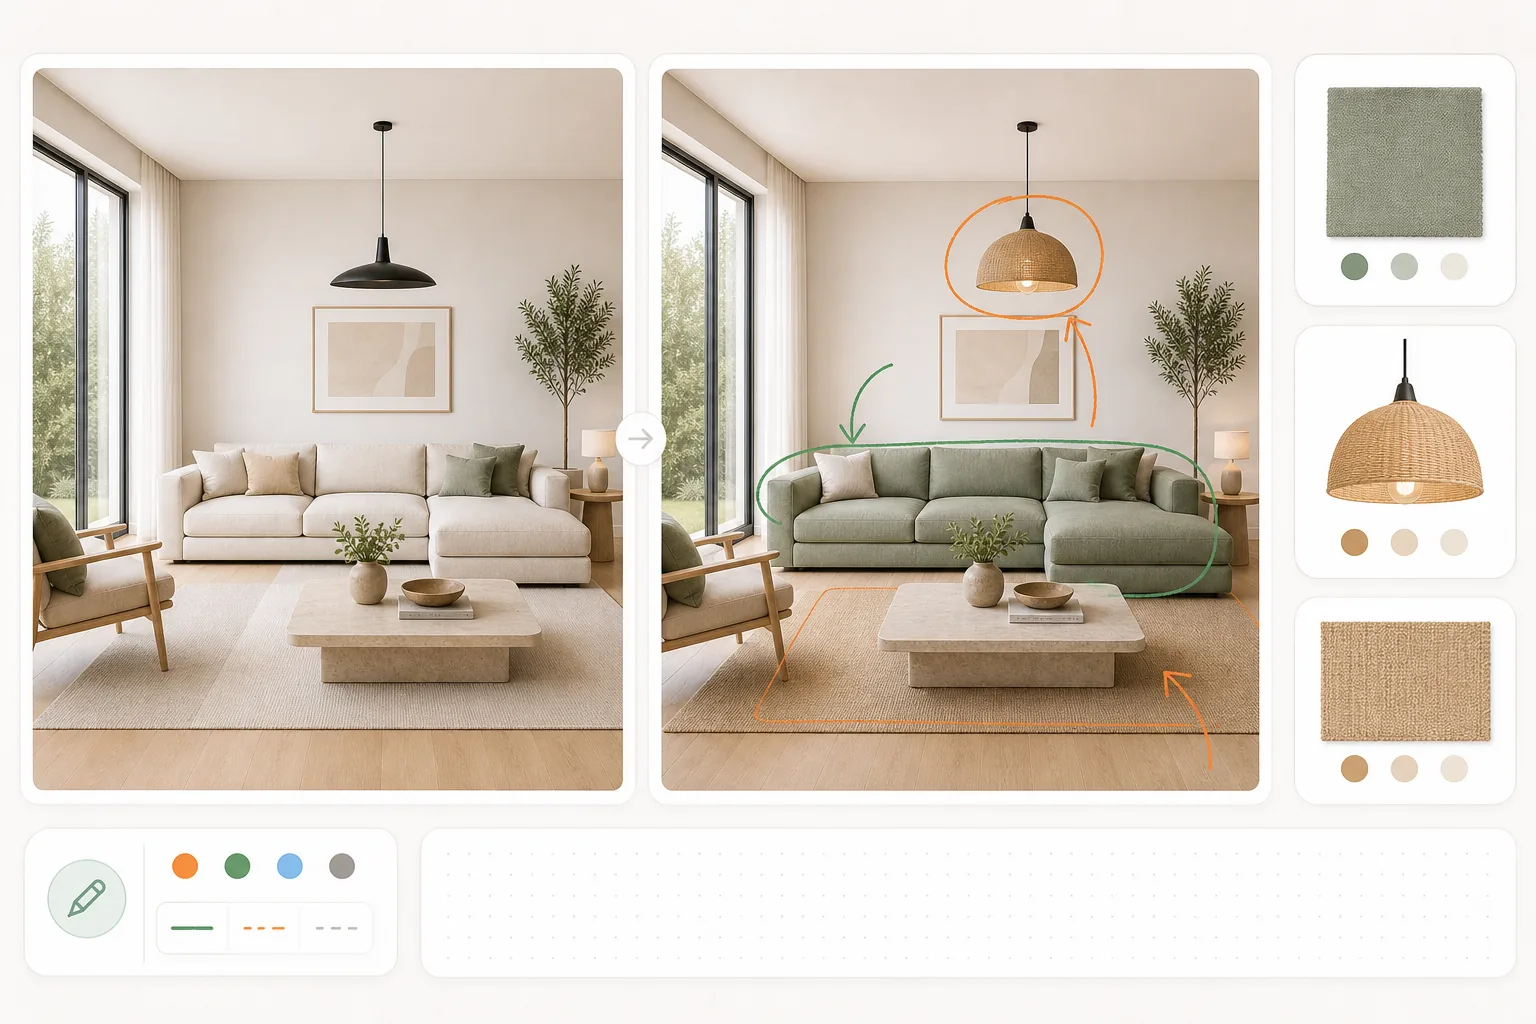
Step 02
Use labels, regions and arrows to show what you want changed, and keep the clean image alongside the annotated brief.
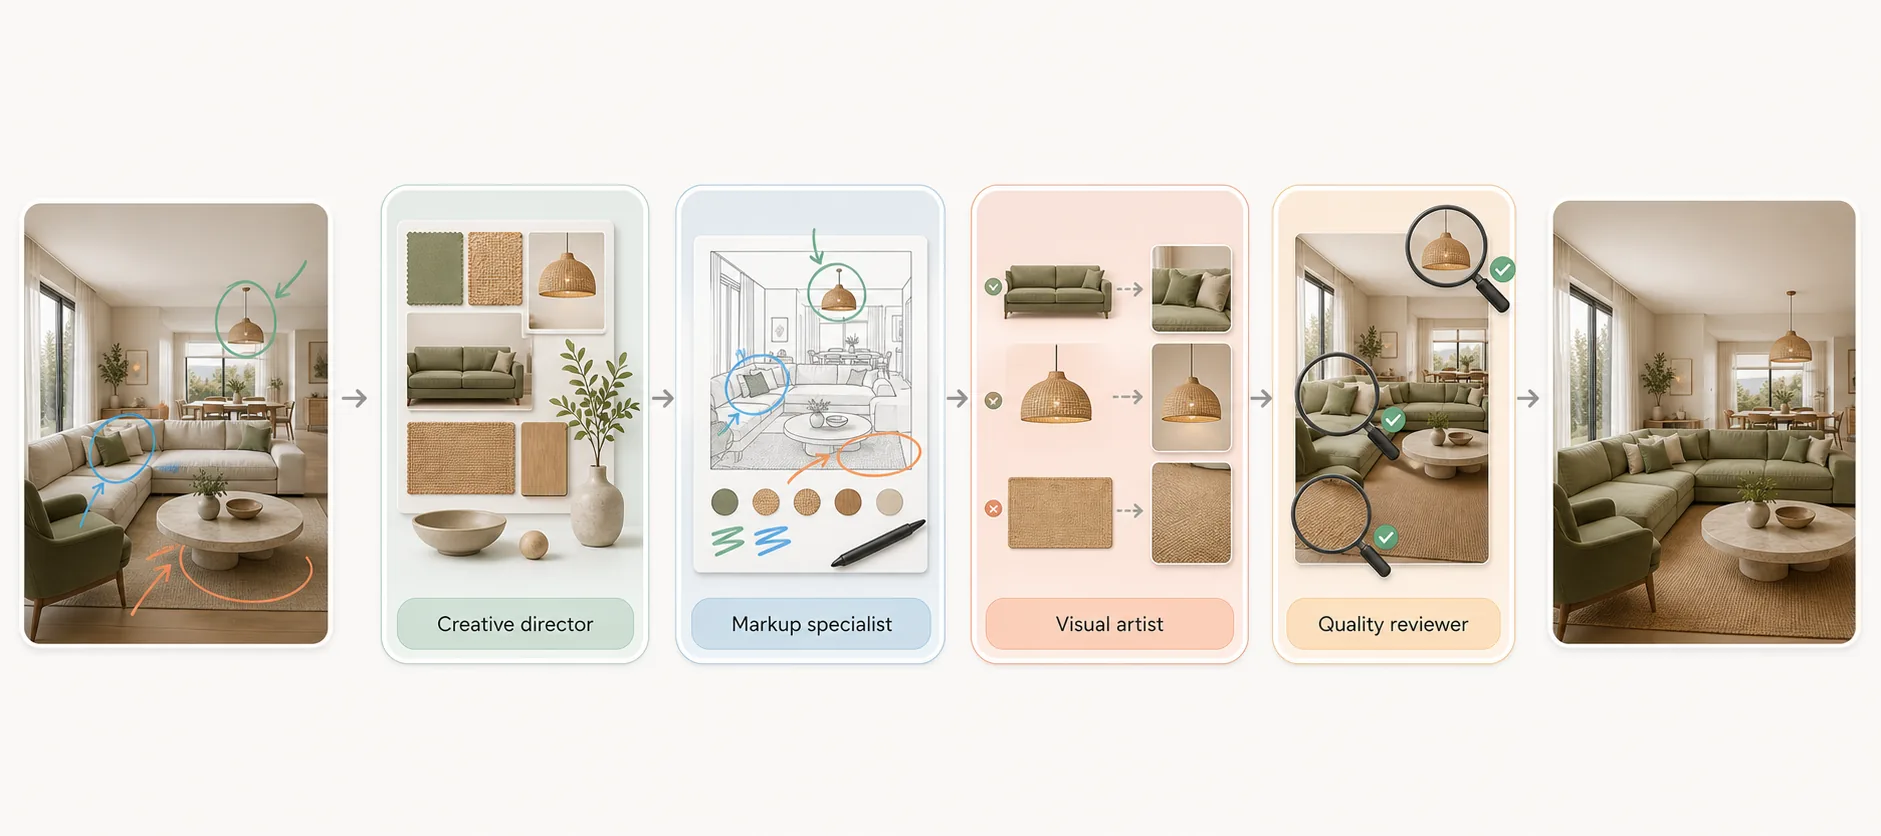
Step 03
Review the complete result, including areas you did not mark; an annotation does not ensure everything else stays unchanged. Good enough to show a client, decide a direction, and choose between options; not accurate enough to approve a finish, match a colour, or build from.
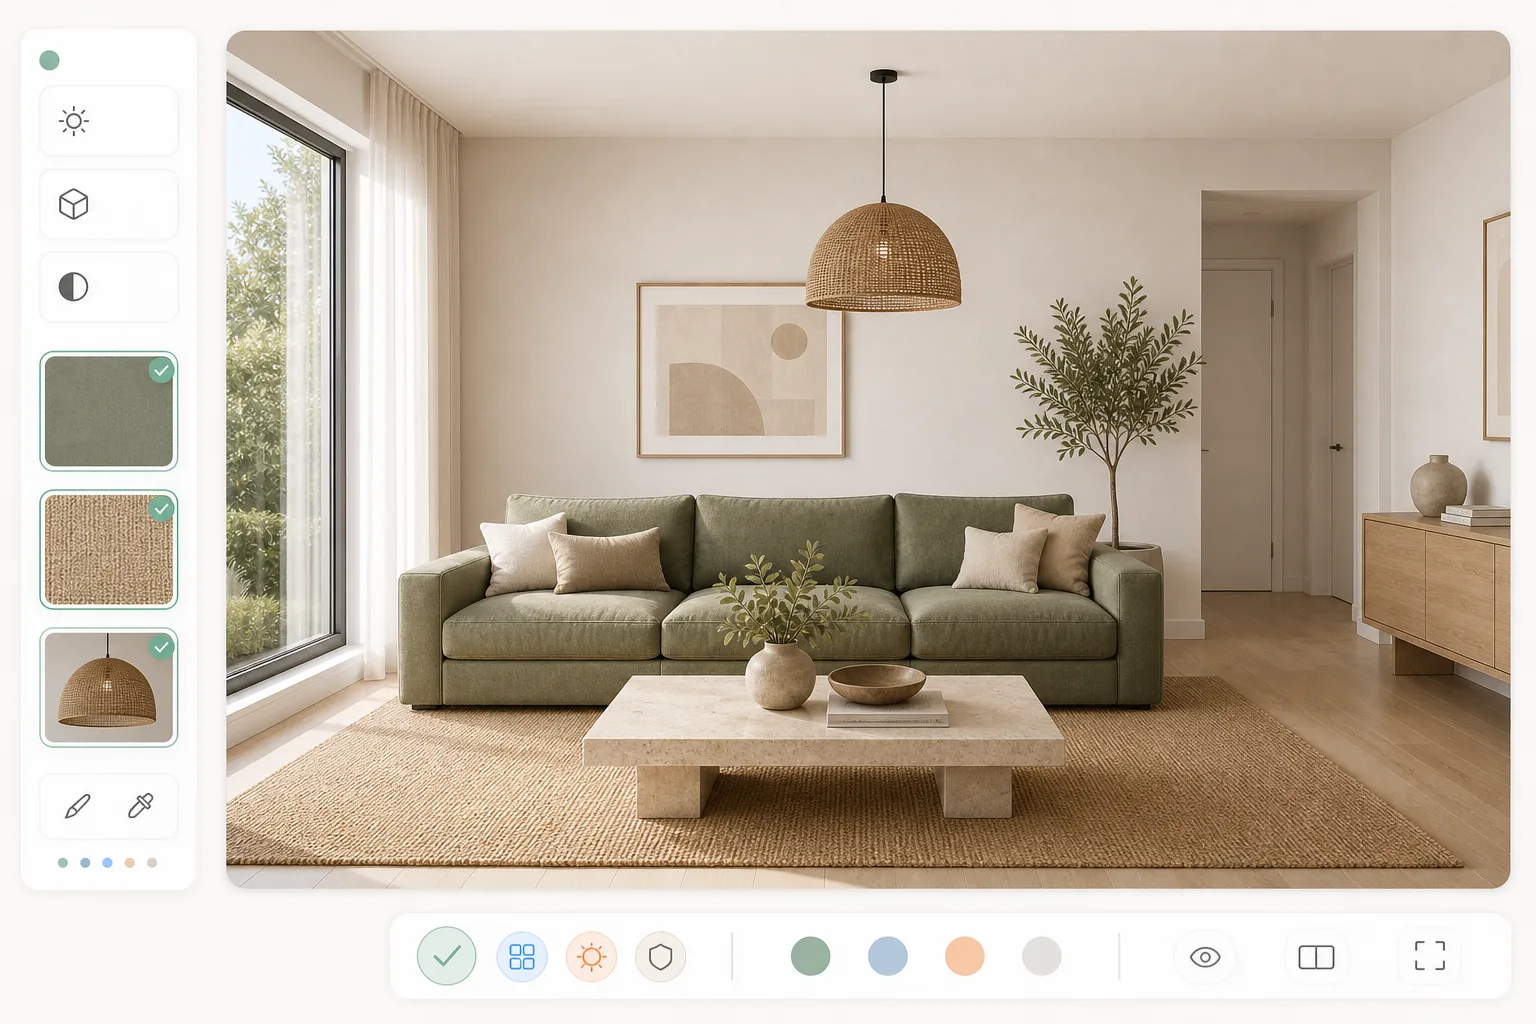
Turn a general reaction into a revision you can review.
Select an image to explore the interface.
This preview displays a fixed sample. It does not process your image or run an agent.
This reference illustrates the task. Selecting your own image changes the preview input, not the sample result.
Ready when you are.
The questions that decide whether this fits the way you already work.
The clean room image and an annotated copy — labels, drawn regions, arrows and comments — plus any reference images attached to the changes you want. Naming what must stay unchanged is as important as naming what should move, because the review afterwards checks both. Supported inputs need confirmation before a demo.
Not guaranteed. Areas you did not mark can still change, and an instruction may not be carried out exactly.
Inpainting edits the region you mask. This is a workflow with four specialist roles that reads your instruction against the whole scene, makes the change in context, then returns it for your comparison. The illustrations explain the intended workflow, not verified staffing.
Reviewed by Son Dang, Founder. Published . Updated .
Have a visual that needs a specific change? Request a Visual Instruction demo to explore how a focused request could support your next client review.
Demo enquiries open your email app.