


Scene design.
Develop a room concept from a rough scene, sketch or unfinished render.
- Input
- a rough scene, sketch or unfinished render, plus your direction
- Output
- a room concept to review and discuss
Start with your room photo, drawing or product reference and the decision your client needs to make. Choose a specialist workflow, brief the task and review the visual before sharing the options.
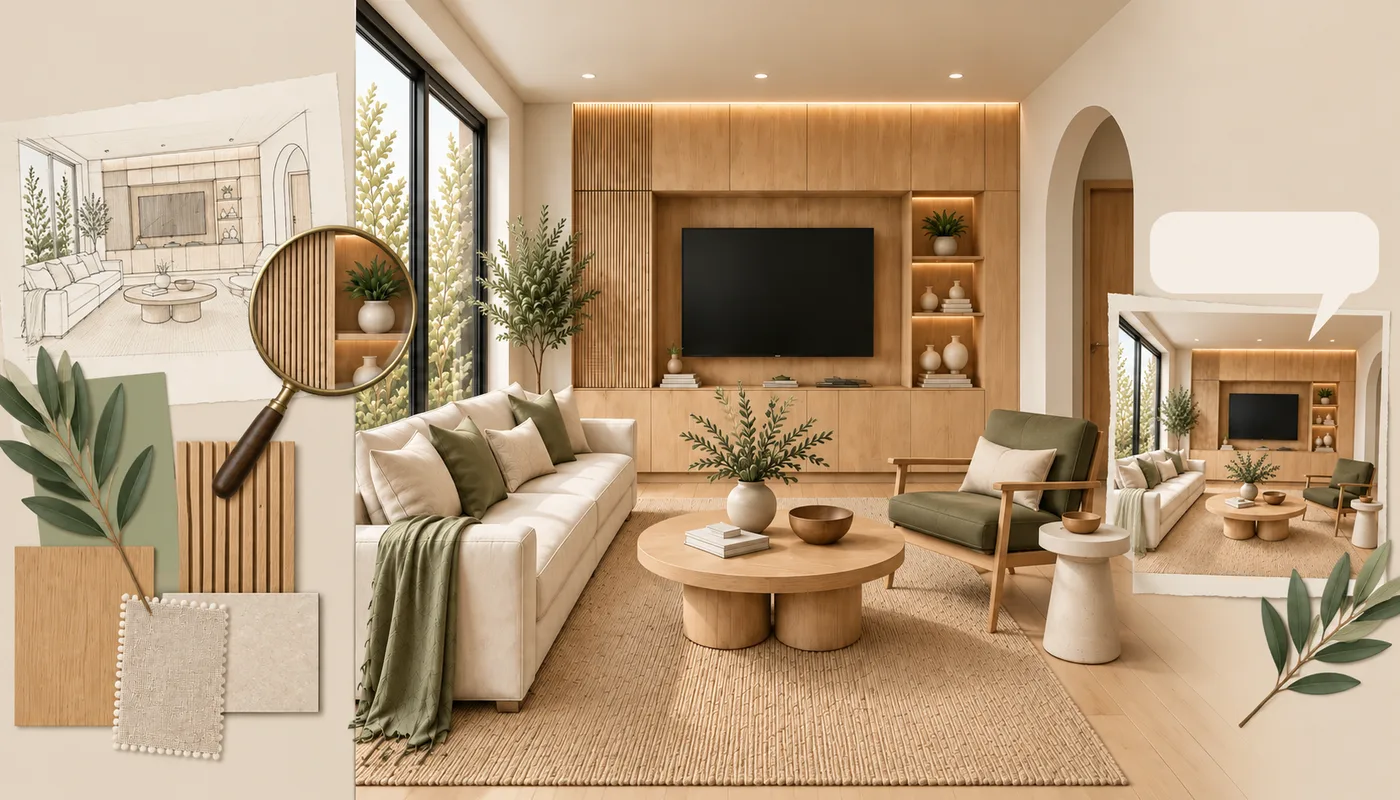
Develop an initial direction, work through client feedback, or compare products in a room. These three examples show where to start; the specialist roster below covers individual visual tasks.
Use a room photo, rough scene or existing 3D floor-plan render to make a possible direction easier to discuss. The panels illustrate the steps, not a recorded Studio session.



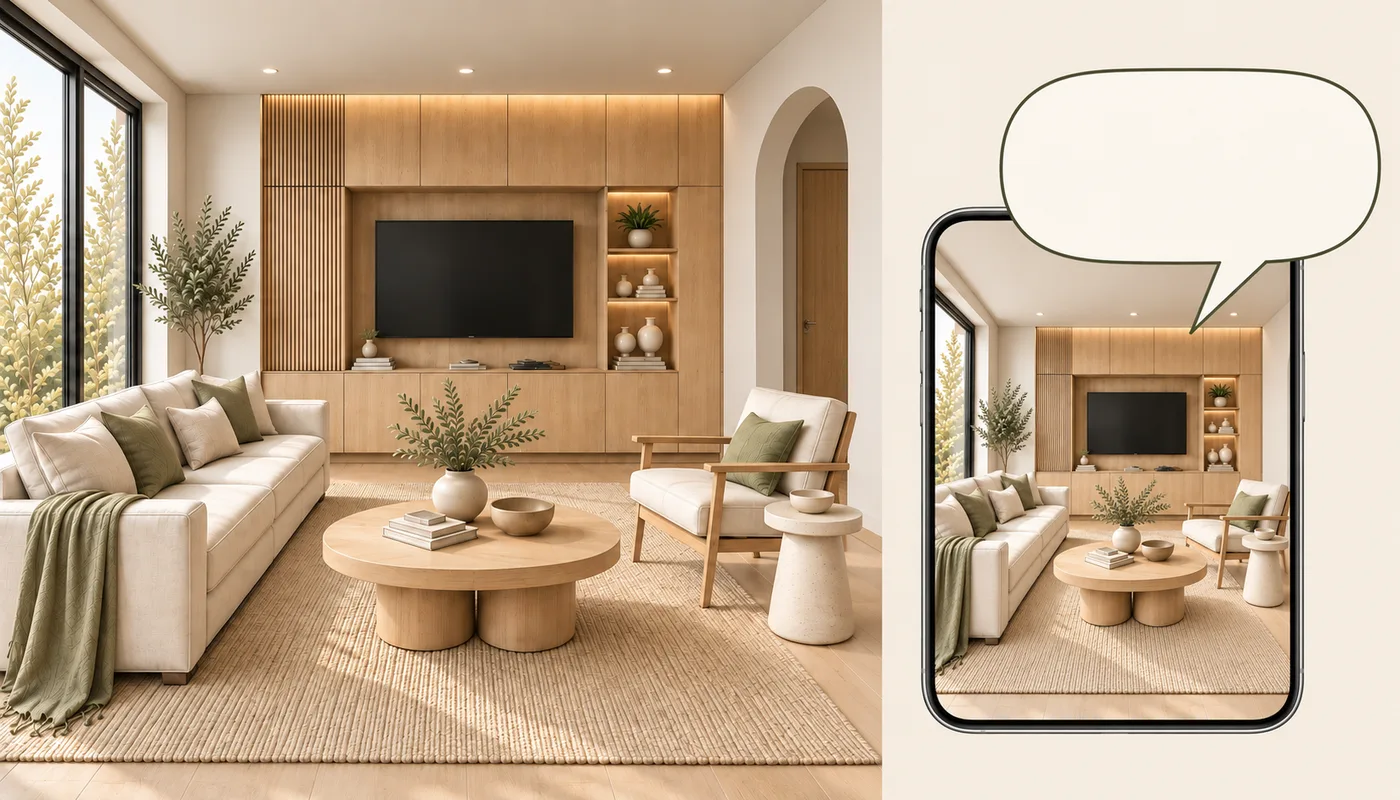
Keep the comment with the version it concerns, so your team knows what to review before preparing the next option.

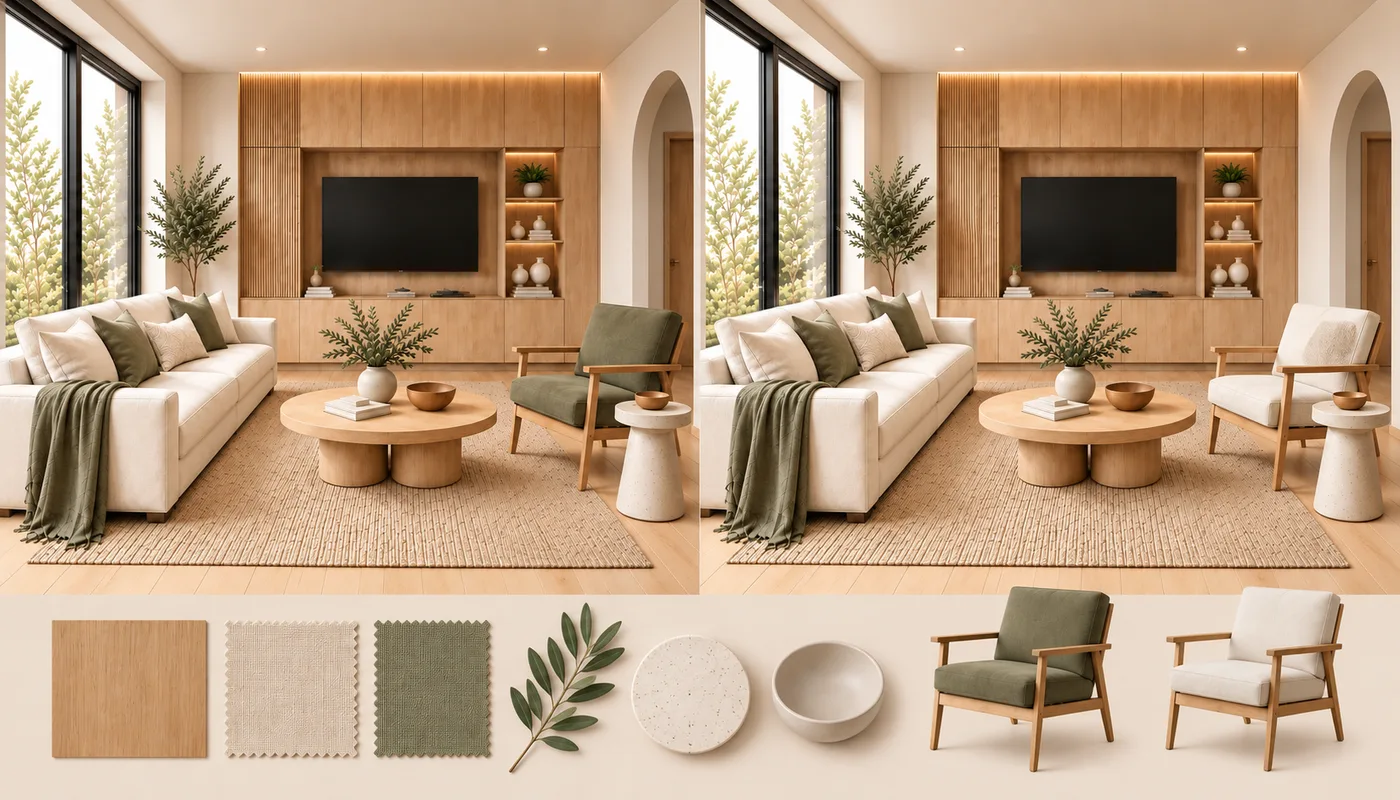
Help the customer picture the alternatives together with the interior they already have. Keep the actual product references beside the visual.




Start with Drawing to Interior for an elevation, Floor Plan 3D for an existing 3D floor-plan render, or Tile Surface for a room photo and tile reference. The images illustrate these tasks; they are not documented Studio results.
Develop a room concept from a rough scene, sketch or unfinished render.

Develop a room visual from an elevation, section or concept sketch.

Refine the presentation of an existing 3D floor-plan render.

Explore a lighting direction or mood for the scene you are developing.

Explore presentation treatment for a near-final design visual.

Request a focused change to an existing visual with words or markup.

Explore how a panel finish could look across cabinetry or a wall.

Explore how a stone reference could look on an island or other surface.

See how a group of furnishings could work together in the room.

Explore a tile option in the context of the surrounding interior.

Explore how a flooring reference could look across a room.

Explore a paint direction alongside the room’s other finishes.
The questions that decide whether this fits the way your business already works.
No. Your people understand the client, set the direction, brief the specialist and judge the result. They decide what to share and what to recommend.
Many tasks start from a photo, sketch or product reference. Floor Plan 3D starts from an existing 3D floor-plan render. You still prepare the brief and check the result; confirm supported source files before arranging a demo.
Good enough to show a client, decide a direction, and choose between options; not accurate enough to approve a finish, match a colour, or build from. Use physical samples to check colour and finish, and technical documentation for dimensions and construction.
Studio brings the visual task, product references, client feedback and recommendation into one project. The useful question is whether that connected process fits your work; your team still checks each output.
Each specialist has a defined visual task, with an input you can supply and a result you can review. Choose by the job you need, rather than learning all twelve first.
Prepare the inputs and review an example before relying on it in a meeting. Run times and revision needs vary; a usable result during the conversation is not guaranteed.
Use your own product references and the catalogs connected to your workspace. Confirm coverage and setup for the range you need, and check current product details with the supplier.
Revise the instruction or input when appropriate, and review the next result too. Consult Pricing for how usage is charged.
Review the published Privacy Policy and Terms of Service, linked in the footer, before supplying client material. Confirm any handling requirements your business needs before uploading.
Choose one task from a current project. Review the workflow’s inputs and limitations, then assess whether the resulting visual would help your client make the next decision. Check access and setup before planning live work.
Pricing explains the available offers and how usage is counted. Check the applicable terms there before choosing how to start.
Choose a specialist from your starting material, or explore a client scenario to clarify the task. Then check the relevant inputs and limits.
Plans and usage on the Pricing page.