

Help your customers picture the next interior decision.
Visual Studio supports interior professionals preparing visual options and client recommendations. Explore how it fits independent designers and teams, brands explaining a range, and showrooms helping customers compare products.
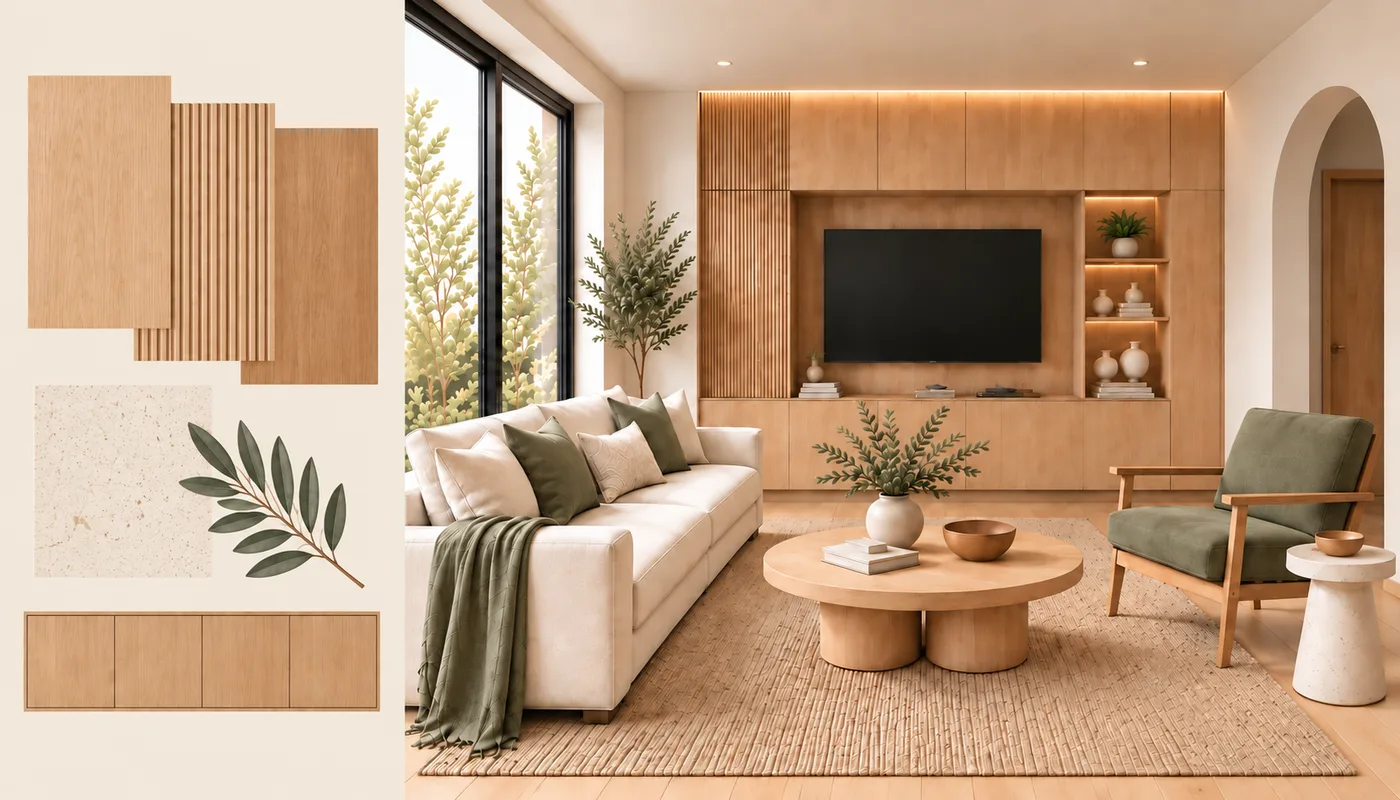
Brands and manufacturers
Help sales and specification staff explain your range in an interior. Staff access and arrangements for range assets or funded usage are separate. Contact us to confirm which arrangement fits your business.
- 01
Start with a product reference and the room or design you want to discuss.
- 02
Use the relevant product specialist to develop a visual option, then check it against the reference.
- 03
Present the reviewed option with identified product information; confirm specification and availability with the supplier.
- 04
Good enough to show a client, decide a direction, and choose between options; not accurate enough to approve a finish, match a colour, or build from. A visual does not verify installation or replace technical product documentation.
Independent designers and interior businesses
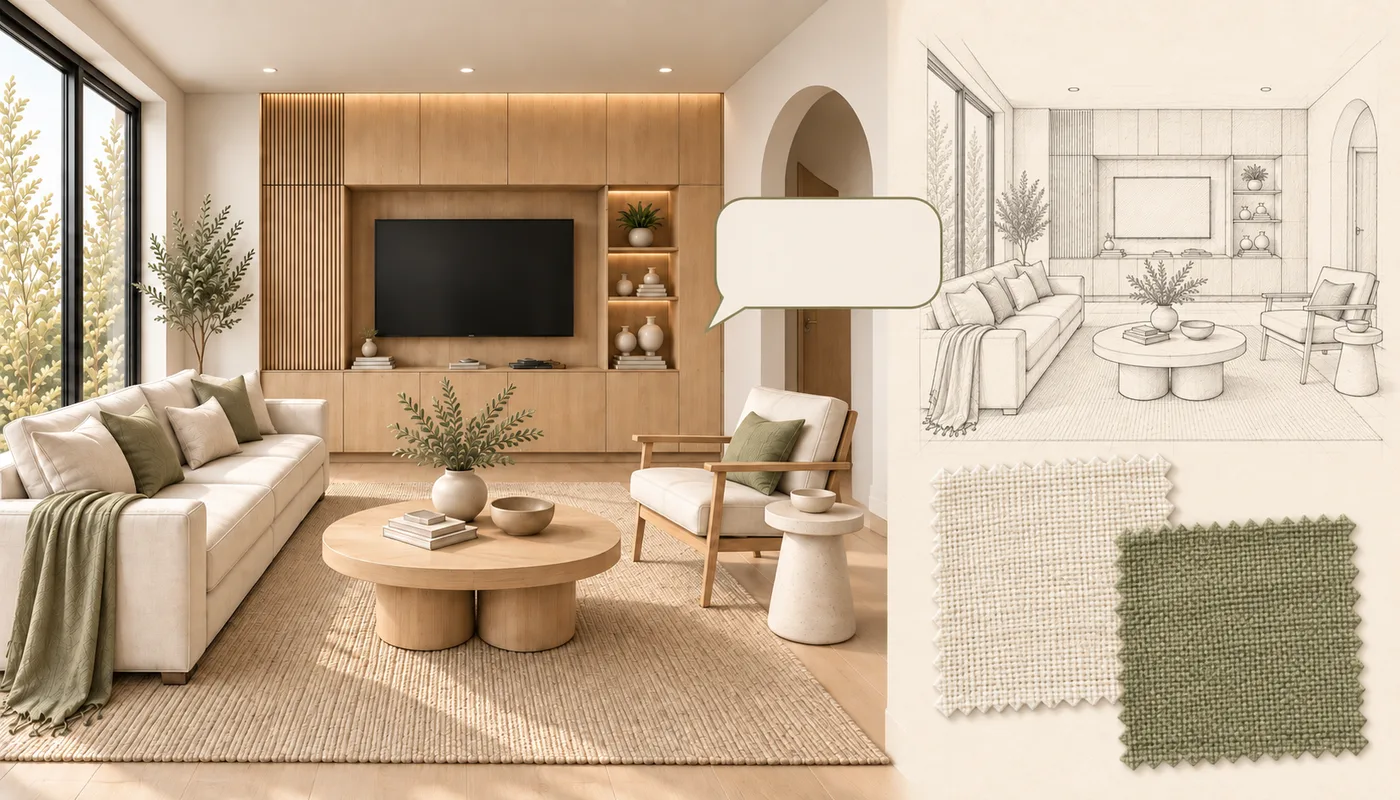
Whether you work on your own or with a team, develop options from the project material and keep the client’s response with the version you shared.
- 01
Start from a drawing, room photo or reference and choose a visual task that fits the question.
- 02
Brief a specialist and review the result before showing it to the client.
- 03
Use feedback on the shared version to prepare your next option and explain the recommendation.
- 04
Check inferred room details against drawings and site information.
Interior showrooms
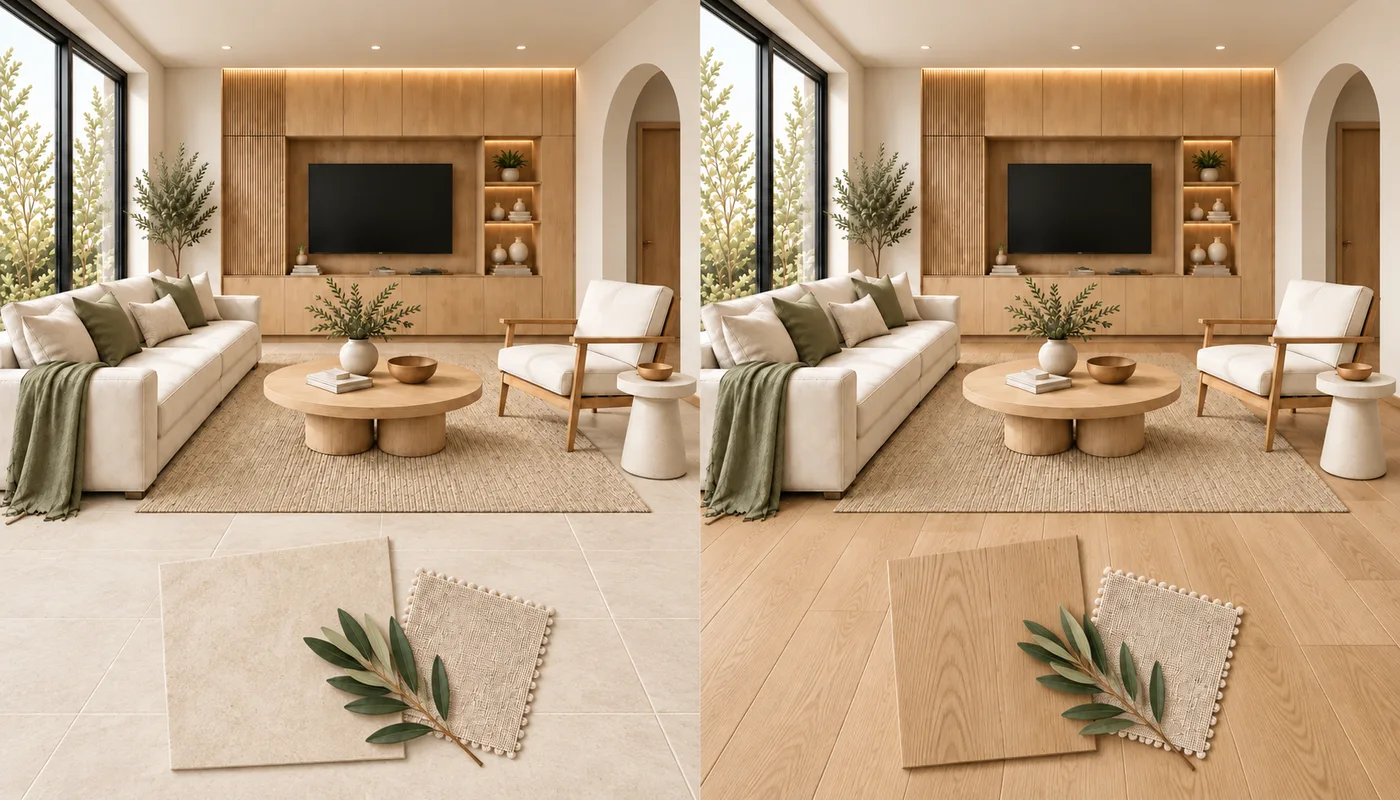
A customer can inspect the sample but may still need help picturing it with their floor, furniture and other finishes. Your consultant leads that comparison.
- 01
Bring the customer’s room photo and the product references they are considering.
- 02
Develop options with the relevant specialist, then check the room and surrounding features for unintended changes.
- 03
Share the reviewed comparison with product details so the customer can revisit it alongside the samples.
- 04
Confirm colour and finish with physical samples, and dimensions and availability with the supplier.
Start with one customer question.
Find the workflow for the room, drawing or product you need to discuss. Pricing separates individual offers from staff and range arrangements.
Contact us to confirm access and the arrangement for your business.