

Bring the interior project into one workspace.
Visual Studio brings room visuals, product references, client feedback and proposals into one project. Review the options with your client, then present your recommendation with the relevant product information.

- Project for your team and client
- 1
- Workspace features
- 6
- Specialist teams to explore
- 12
From a reference to a recommendation.
Good enough to show a client, decide a direction, and choose between options; not accurate enough to approve a finish, match a colour, or build from.
Find product options from a reference.
Search connected catalogs with words, images or a scene. Compare the candidates with what the client needs.
- 01
Describe the product, style or room you are looking for.
- 02
Search from a reference image, or select a product within a scene.
- 03
Use the scene on your canvas to look for related products.
- 04
Results depend on connected catalogs; a visual match is not a verified equivalent.

Keep product information with the idea.
Collect swatches, drawings, room visuals and product ranges where your team can use them. Purchases happen outside Studio.
- 01
Keep your own references available for later projects.
- 02
Share the relevant drawings and product information with your team.
- 03
Work from your business’s range and connected brand or supplier catalogs.
- 04
Confirm specification, stock, price and lead time with the supplier; a rendered appearance does not verify the product.

Show exactly where you mean.
Mark the part of the image you want to discuss and put the instruction beside it. Keep the request tied to the version being reviewed.
- 01
Label the floor, wall or item you want to discuss.
- 02
Draw the requested change and attach a product reference.
- 03
Add instructions at your desk or while you are in the room.
- 04
Brief a colleague or specialist team; review the result yourself.

Discuss the version you shared.
Give the client a project link to the options you are ready to discuss. Keep their response with that version so the next review has a clear starting point.
- 01
Your team works from the shared project and its references.
- 02
You choose which version to share with the client.
- 03
Use the client’s comments to brief the next revision.
- 04
Clients respond; staff run the workflows and make the professional decisions.
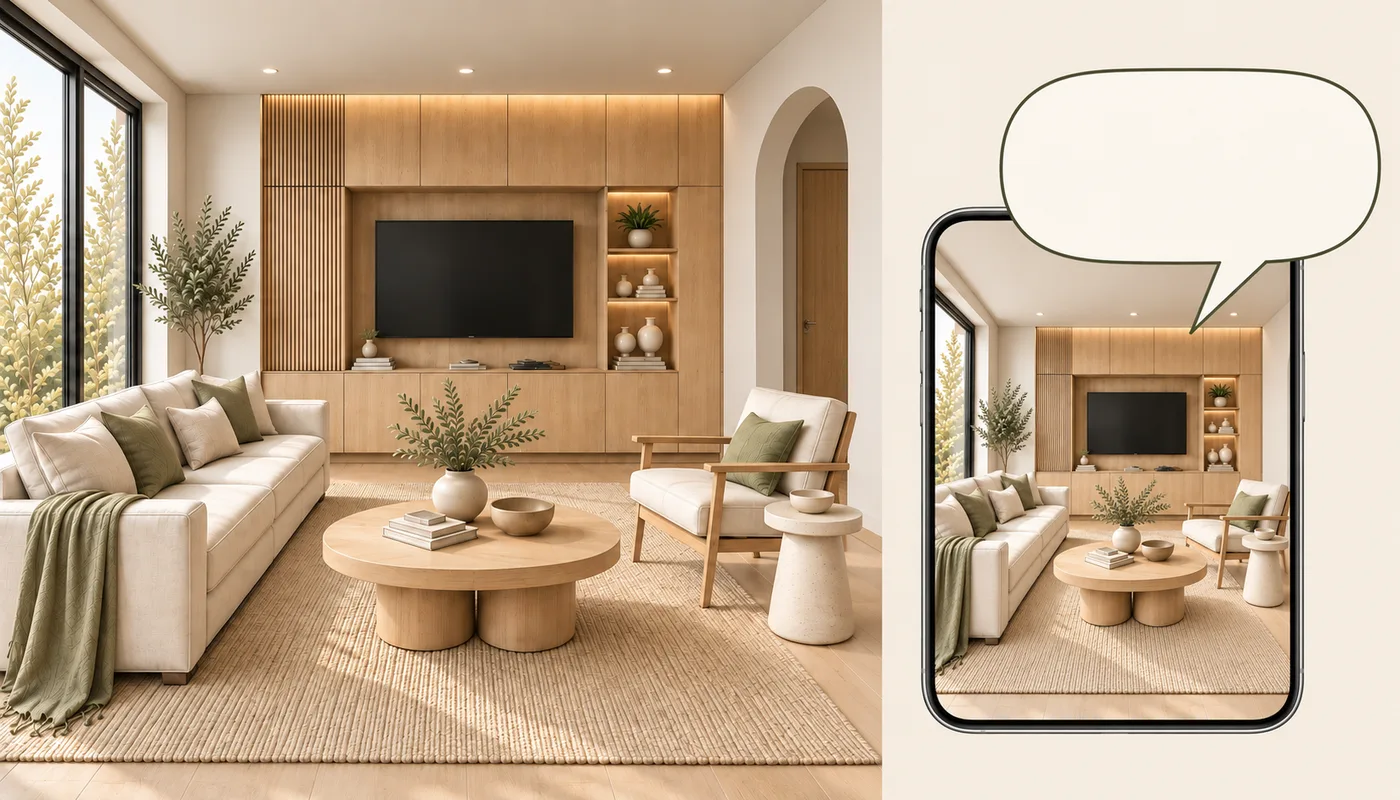
Present the options and your recommendation.
Bring the reviewed visuals, relevant products and your reasoning into a proposal. Edit it before sharing it with the client.
- 01
Show the options you want the client to compare.
- 02
Keep the product references beside the visual choice.
- 03
Explain your recommendation and revise it after feedback.
- 04
The proposal is a draft to review, not a quote or contract.
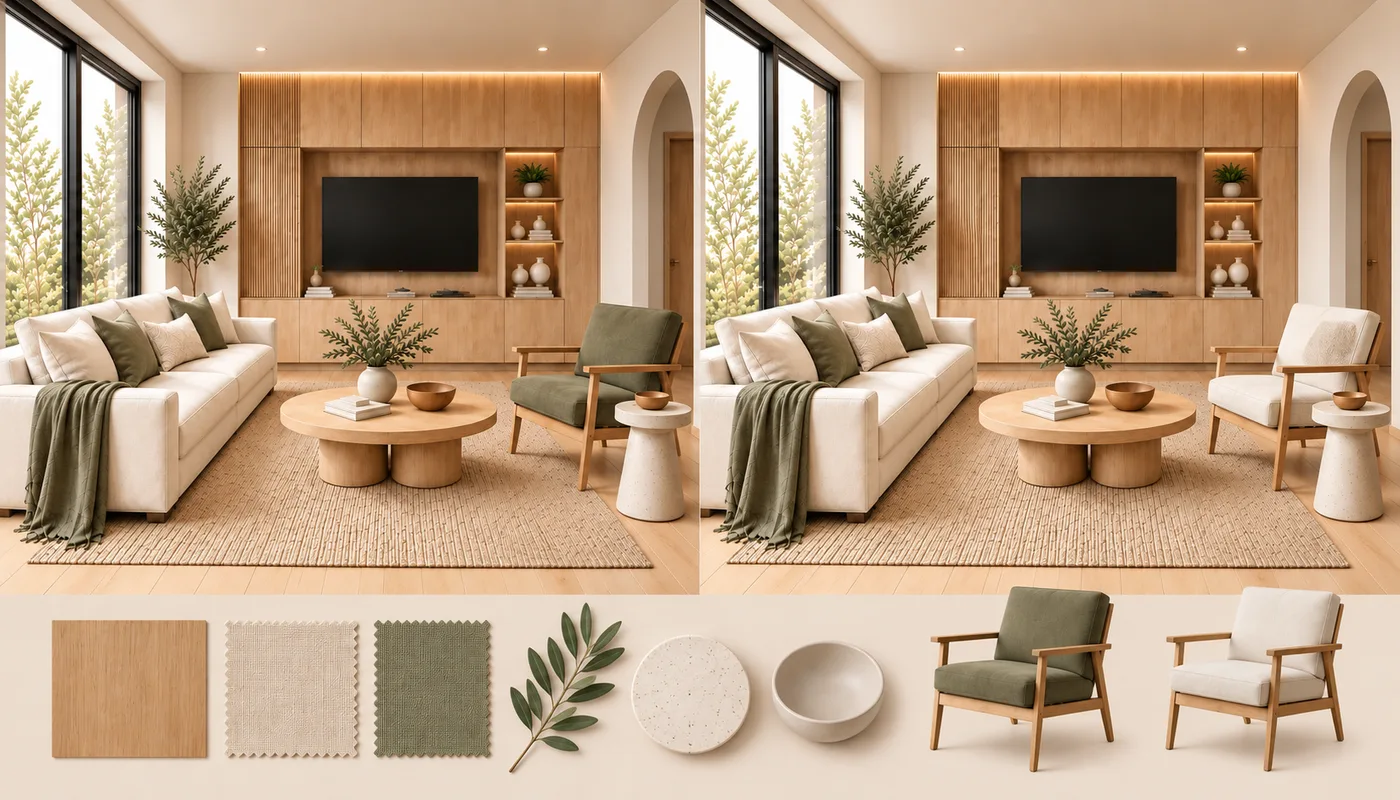
Prepare a clearer brief with Studio Assistant.
Studio Assistant helps you prepare the inputs and instructions for your project. Review its suggestions, choose the next step and check the result.
- 01
Use the current canvas to discuss the job you want to do.
- 02
Ask how to prepare a drawing, room photo or product reference.
- 03
Consider suggestions for a suitable specialist team and brief.
- 04
It advises; you decide and review.

Start with the client question you need to answer.
Find the workflow for your drawing, room photo or product, then review the specialist’s inputs and limits.
Plans and usage on the Pricing page.