

See the new choice beside what stays.
Help your client compare a new cabinet, floor or wall finish with the features staying in the room. Use a room photo and product references to explore the direction, then check the actual products and samples.
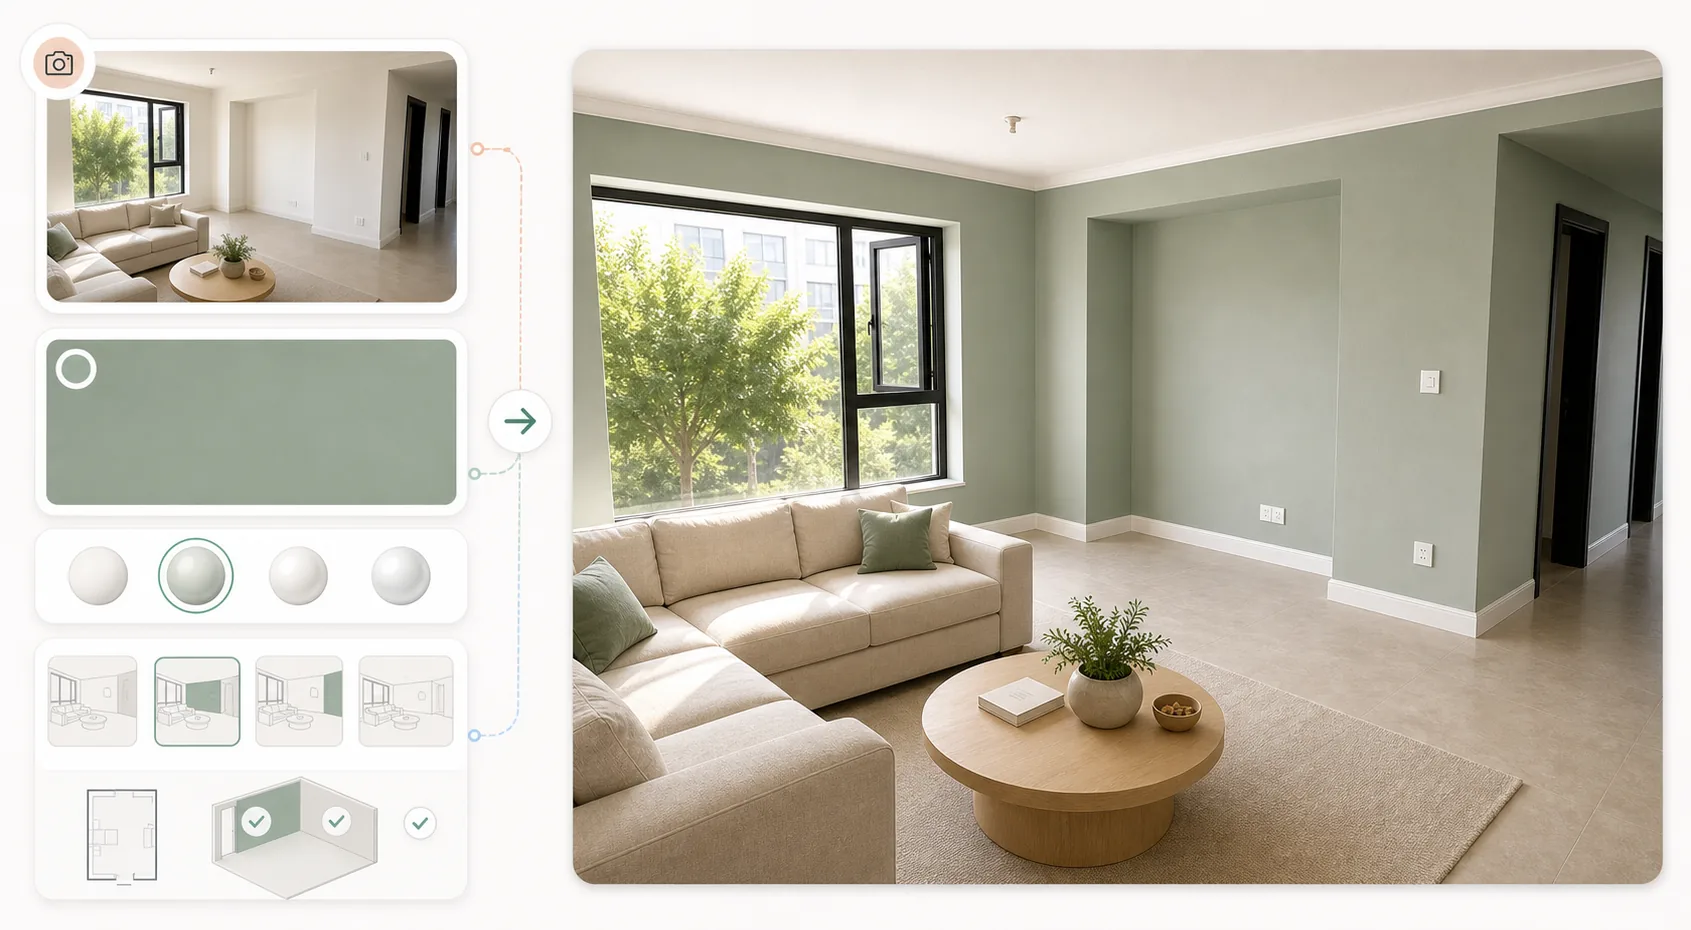
Start with what the room will keep.
Name the choice under review and the features it needs to sit beside.
For a cabinet finish, that might mean the existing floor and benchtop. For paint, it might mean the joinery, upholstery and available light. Collect a room photo, the candidate reference and a short list of what should remain in the visual.
This sequence is for professionals helping a client update a room. If it is your own space, use these questions to prepare the comparison with your designer or showroom adviser.
A sample and a room visual answer different questions.
Use the visual to consider the combination, then inspect the physical finish where it will be used.
A sample shows the material itself. A room option helps the client discuss its relationship to nearby colours and surfaces. Neither replaces the other: the image cannot establish an exact colour, surface texture or response to the room’s real light.
Make the comparison about one choice.
Keep the question clear enough that the client can say what they prefer and why.
Prepare the context.
Provide the room photo, candidate reference and retained-feature list. Name the surface or item you want to explore.
Check the options.
Compare each result with the source photo and product reference. Look for changes to the surrounding room before sharing the options.
Confirm what needs a physical check.
Use the visual preference to choose samples or products to inspect. Confirm dimensions, suitability and installation requirements separately.
Use Studio for the room comparison.
The product and material workflow explains how to prepare a visual question and review the result.
The task is to explore a candidate in room context, then judge how well the image represents that request. Good enough to show a client, decide a direction, and choose between options; not accurate enough to approve a finish, match a colour, or build from.
Ask about the choice they can see.
A specific question gives the client a useful way to respond.
For example: “Which cabinet finish sits better with the floor we are keeping?” Record the preference and the reason. If the client wants another revision, name the change and check the new result against the same room information.
Keep the comparison tied to the product.
Retain the product reference, room option and client response together as the choice develops.
That gives your designer or showroom team a clear basis for the next conversation: which option was discussed, what the client preferred and which sample or suitability check is still outstanding. The visual remains part of the recommendation, rather than an order specification.
Explore the product comparison workflow.
Use product and material consultation when the question concerns a candidate finish or furnishing.
If the client has already responded to a room version and you need to develop the next option, explore design development and client review. It explains how to keep the revision and response connected.