

Review what to keep and what to change.
Review interior choices across a whole-home renovation with your client. Bring room references, retained features and open questions together so each visual option can be considered alongside the rest of the home.
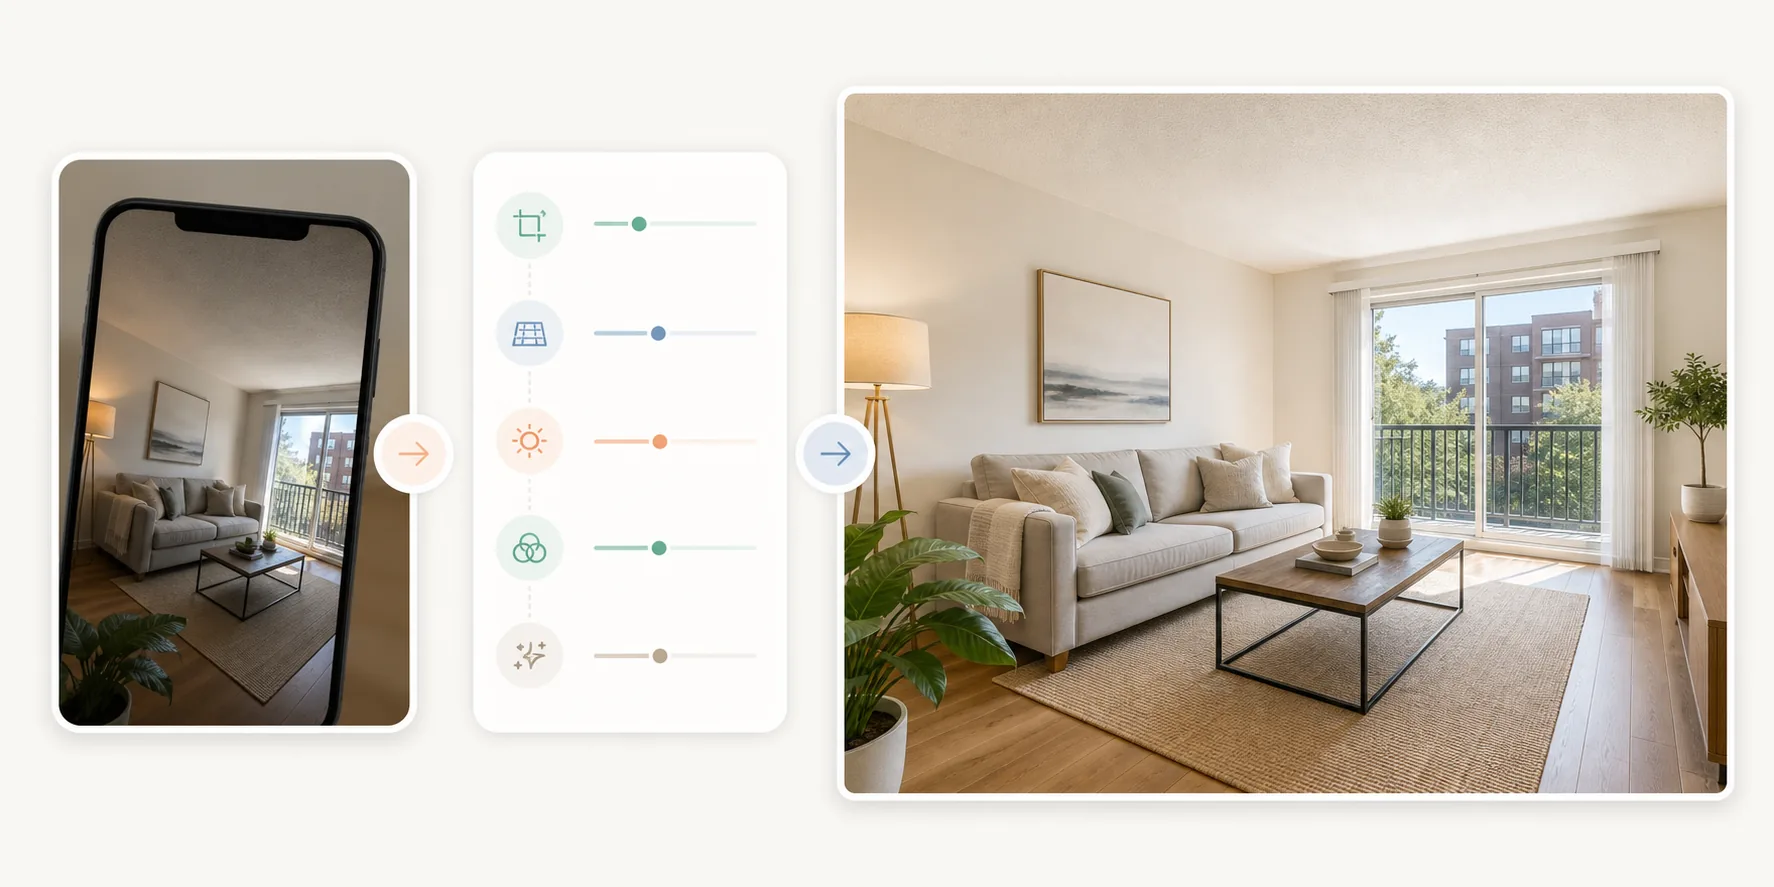
Make the keep/change questions explicit.
Start with the rooms and features whose future is still being discussed.
Some elements may be valued, some may be worn, and others may constrain the proposed work. Record what the client wants to retain, what they want to explore changing and what needs professional assessment. Use current room photos and the project brief as the starting material.
This sequence is for professionals reviewing a renovation with a client. If it is your own home, use the keep/change list to brief your designer and identify questions for the relevant technical professionals.
Separate a visual preference from permission to change.
Seeing an option does not establish that the existing building can accommodate it.
A preferred image cannot tell you whether a wall can be removed, services relocated or an existing surface retained safely. Keep those assessments beside the design discussion as open requirements.
Review each room with the wider choices in view.
Use the same project brief, then check the implications of each proposed change yourself.
Record the existing condition.
Gather current room photos and a keep/change list. Mark questions about condition, structure or services for professional assessment.
Compare a defined option.
Choose a room and a specific visual question, such as new cabinetry beside a retained floor. Check the result for unintended changes before sharing.
Carry the decision into the next review.
Record the client’s preference and outstanding checks. Compare later room options with that record and the shared references; review cross-room implications yourself.
Use Studio to develop the room option.
The design development workflow connects a reviewed version, the client’s response and the next visual request.
Compare each revision with the source photo, retained-feature list and request. Good enough to show a client, decide a direction, and choose between options; not accurate enough to approve a finish, match a colour, or build from. Visuals cannot assess structure, concealed services, existing condition or compliance. Use site and technical assessments for those decisions, samples for colour and finish, and supplier information for products.
Give each response a clear reference.
Ask the client about the proposed change in the room version they are reviewing.
“Keep the floor through the hall and living room; explore lighter cabinetry in the kitchen.” A response can connect choices across rooms. Compare the relevant room options with the source photos and shared references, then record what needs another visual or technical review.
Keep the scope of the next review clear.
Distinguish the client’s preferences from unresolved site, product and technical questions.
A record for each reviewed room helps your team see what has been discussed, what still needs assessment and why another option is being prepared. It supports the design conversation alongside the project’s own scope, documentation and trade coordination.
Explore the review workflow.
Use design development and client review to work through a room option and the client’s response.
For a specific finish or furnishing choice beside something retained, explore product and material consultation. Use it to prepare a focused visual comparison while the physical and technical checks continue separately.